Clean Bath Exhaust Fan: Clear Air Quick

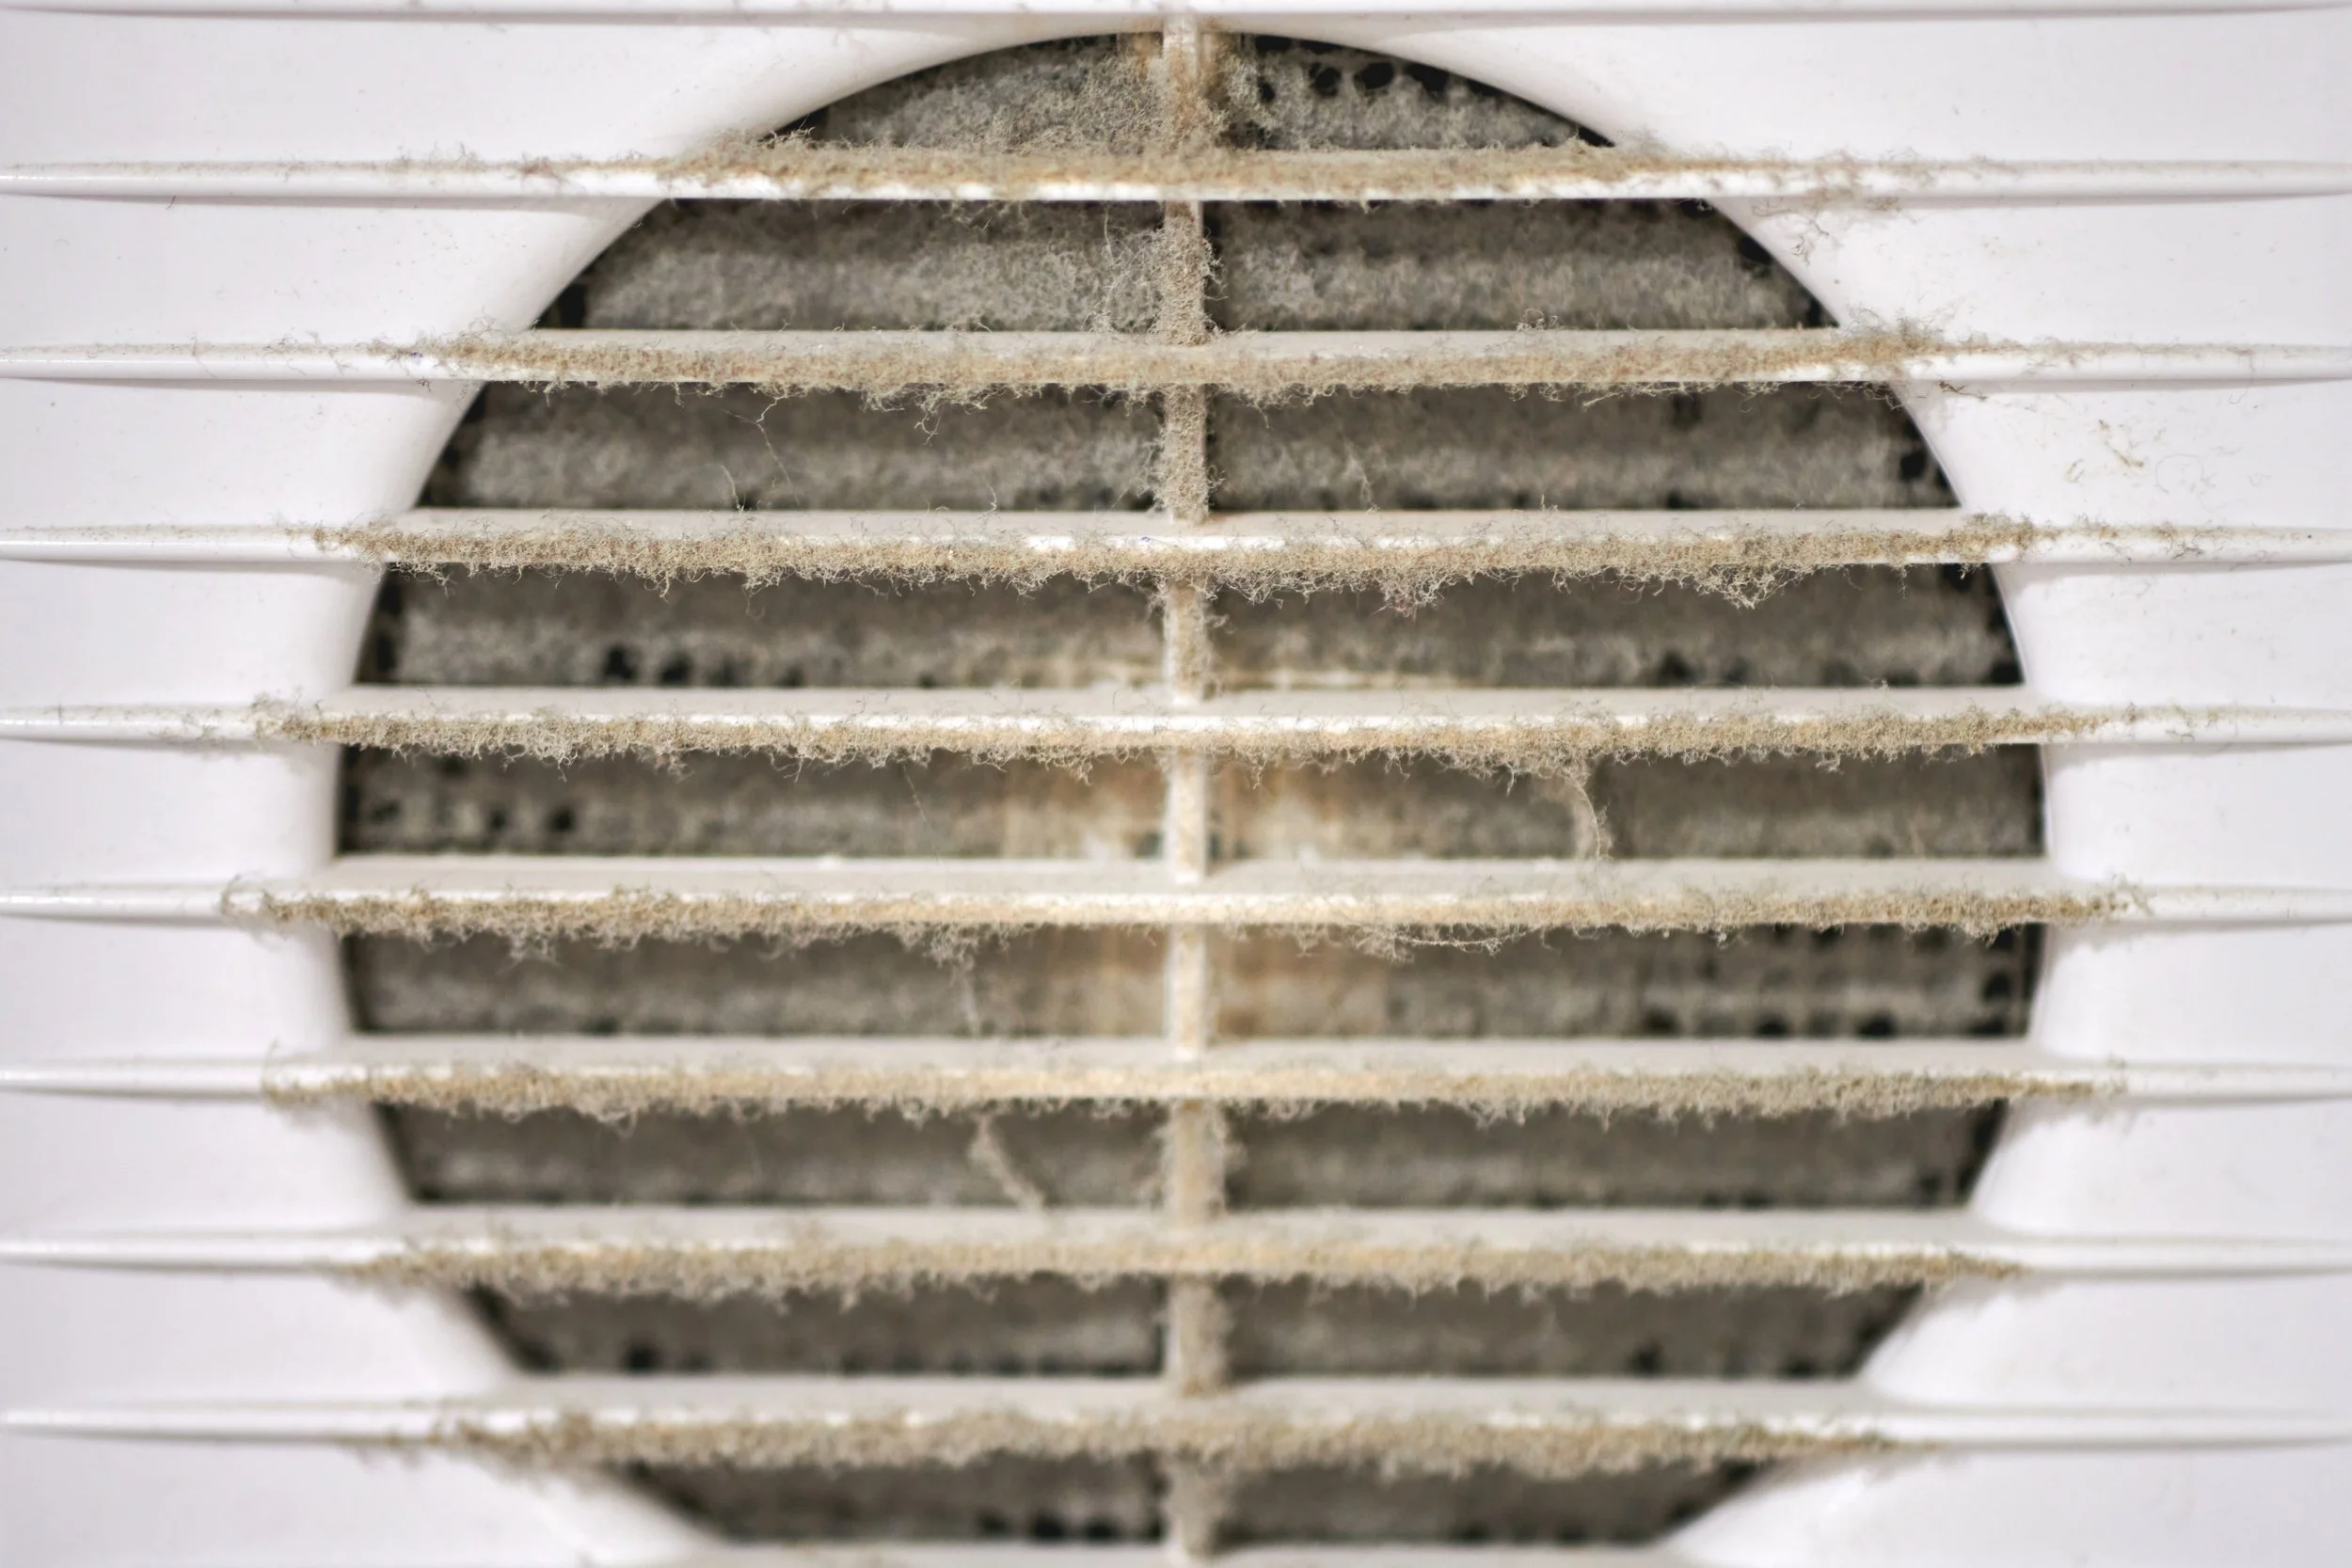
What if the real reason your bathroom still feels damp, muggy, or smelly isn’t the weather outside but a clogged exhaust fan that’s silently failing you every single day? Think of it like trying to push air through a filter full of dust; no matter how much the fan tries, the airflow just doesn’t move. That’s exactly what happens when bathroom exhaust fan cleaning is ignored for too long. The fan keeps running, but the moisture stays trapped, and your bathroom never really gets that clean and dry feel you expect.
If you want a clear and practical guide that walks you through the smartest ways to clean your fan, whether you want a deep clean, a quick-touch method, or ways to handle tough buildup, this blog on Clean Bath Exhaust Fan will break it down step by step so you always know exactly what to do and why.
Table of Contents
What You’ll Need
How to Clean Your Bathroom Exhaust Fan
How to Clean an Exhaust Fan Without Removing (Quick Method)
Popular Quick-Cleaning Methods People Search For
Best Bathroom Exhaust Fan Cleaning Practices
Why Bathroom Exhaust Fan Cleaning Matters
How Often Should You Clean Your Bathroom Exhaust Fan?
Signs You Need More Than Cleaning
Maintenance Tips
When to Repair vs Replace
What You’ll Need Before You Start
Here’s everything to gather before beginning. Having all the tools ready makes the cleaning process much faster.
A screwdriver
A vacuum with a small nozzle attachment
Mild soap or all-purpose cleaner
Microfiber cloths
Soft brush
Warm water
A step stool or ladder
How to Clean Your Bathroom Exhaust Fan
Follow these steps carefully to get the best results. Our cleaning experts recommend using gentle cleaners to avoid damaging the fan motor or casing.
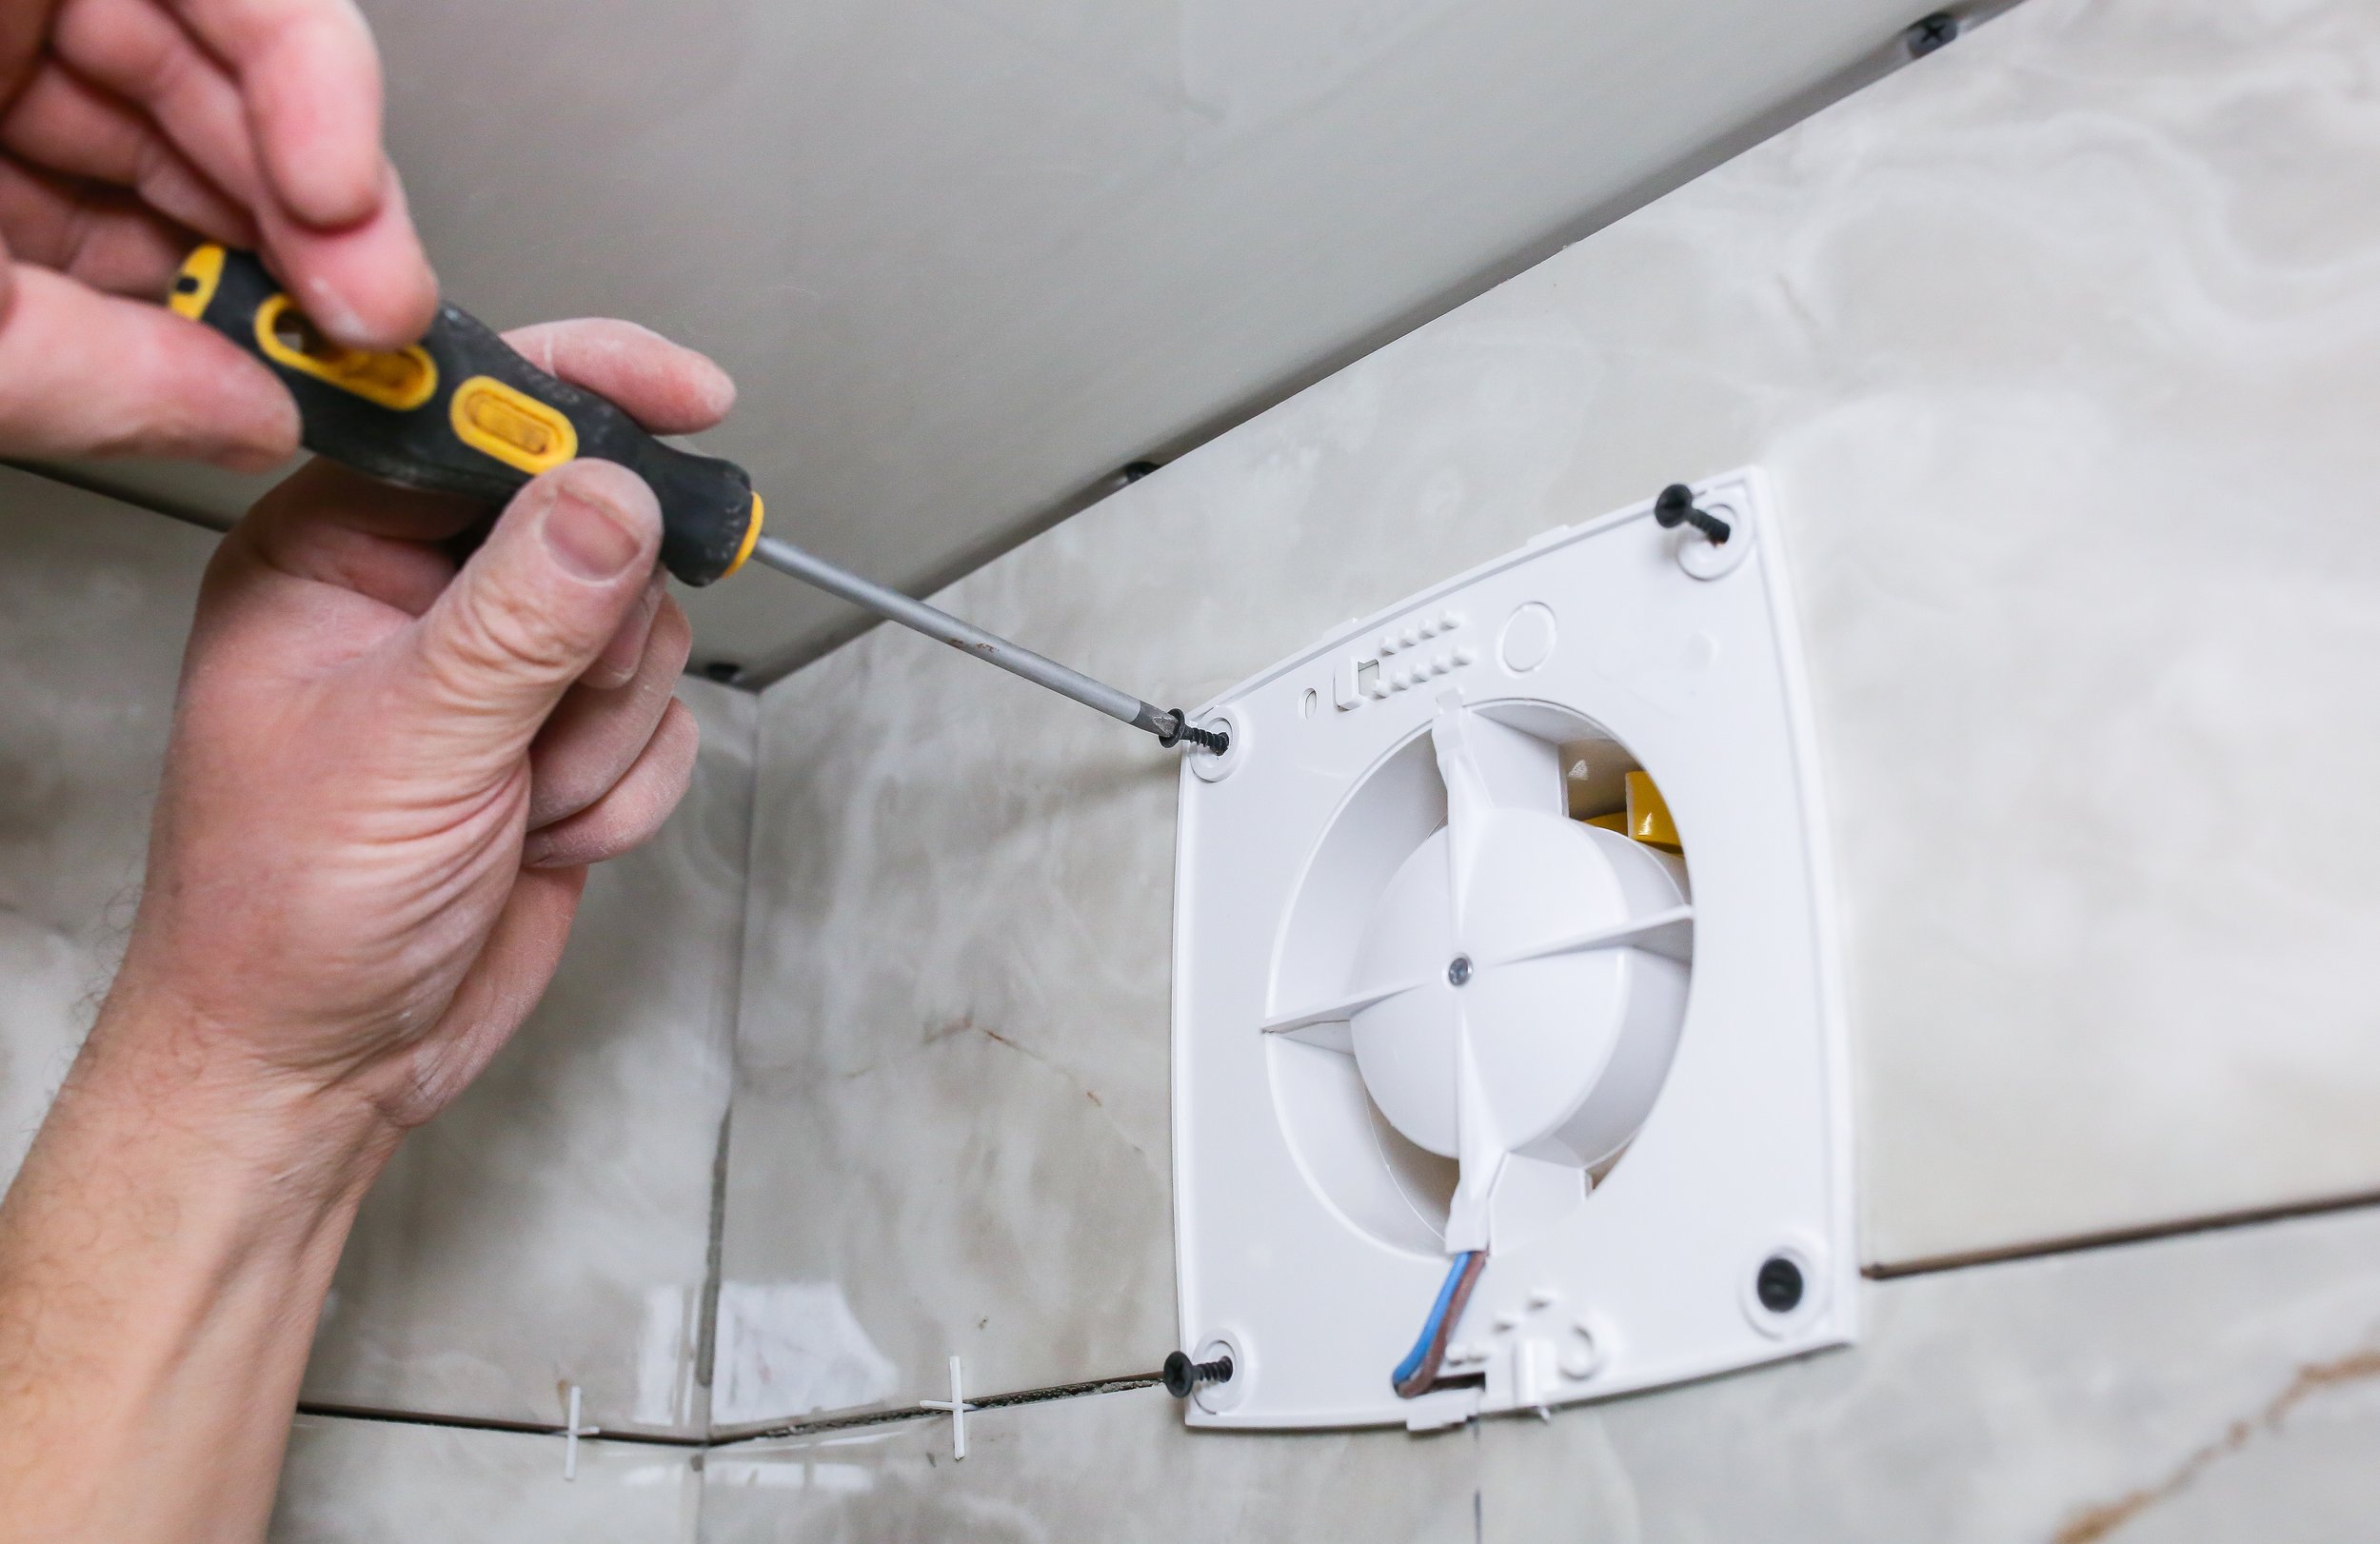
Step 1: Turn Off the Power
Firstly, always start by ensuring the fan is not connected to electricity.
Switch off the fan and breaker supplies (if required).
Step 2: Removal of Exhaust Fan Cover
Then, using both hands, gently and evenly pull the Exhaust Fan Cover downwards. To perform a complete removal, you must continue to press both metal clips inward until there is no longer tension on them.
Step 3: Cleaning of the Vent Cover
Clean with warm, soapy water; then use a soft-type brush to scrub any dust and debris from the Vent Cover. Please take care to clean well because vent covers are also used to pull air into the fan while they are working.
Step 4: Vacuuming the Fan Housing
The Vacuuming portion should include the following:
To remove dust/dirt from the Fan Blade Area.
To remove all dust/dirt from around the Motor Area.
To remove dust/dirt from around the Edges of the Housing.
Step 5: Wipe Everything Down
Mix a mild cleaning agent with warm water. When wiping down items, be cautious not to touch any electrical wires.
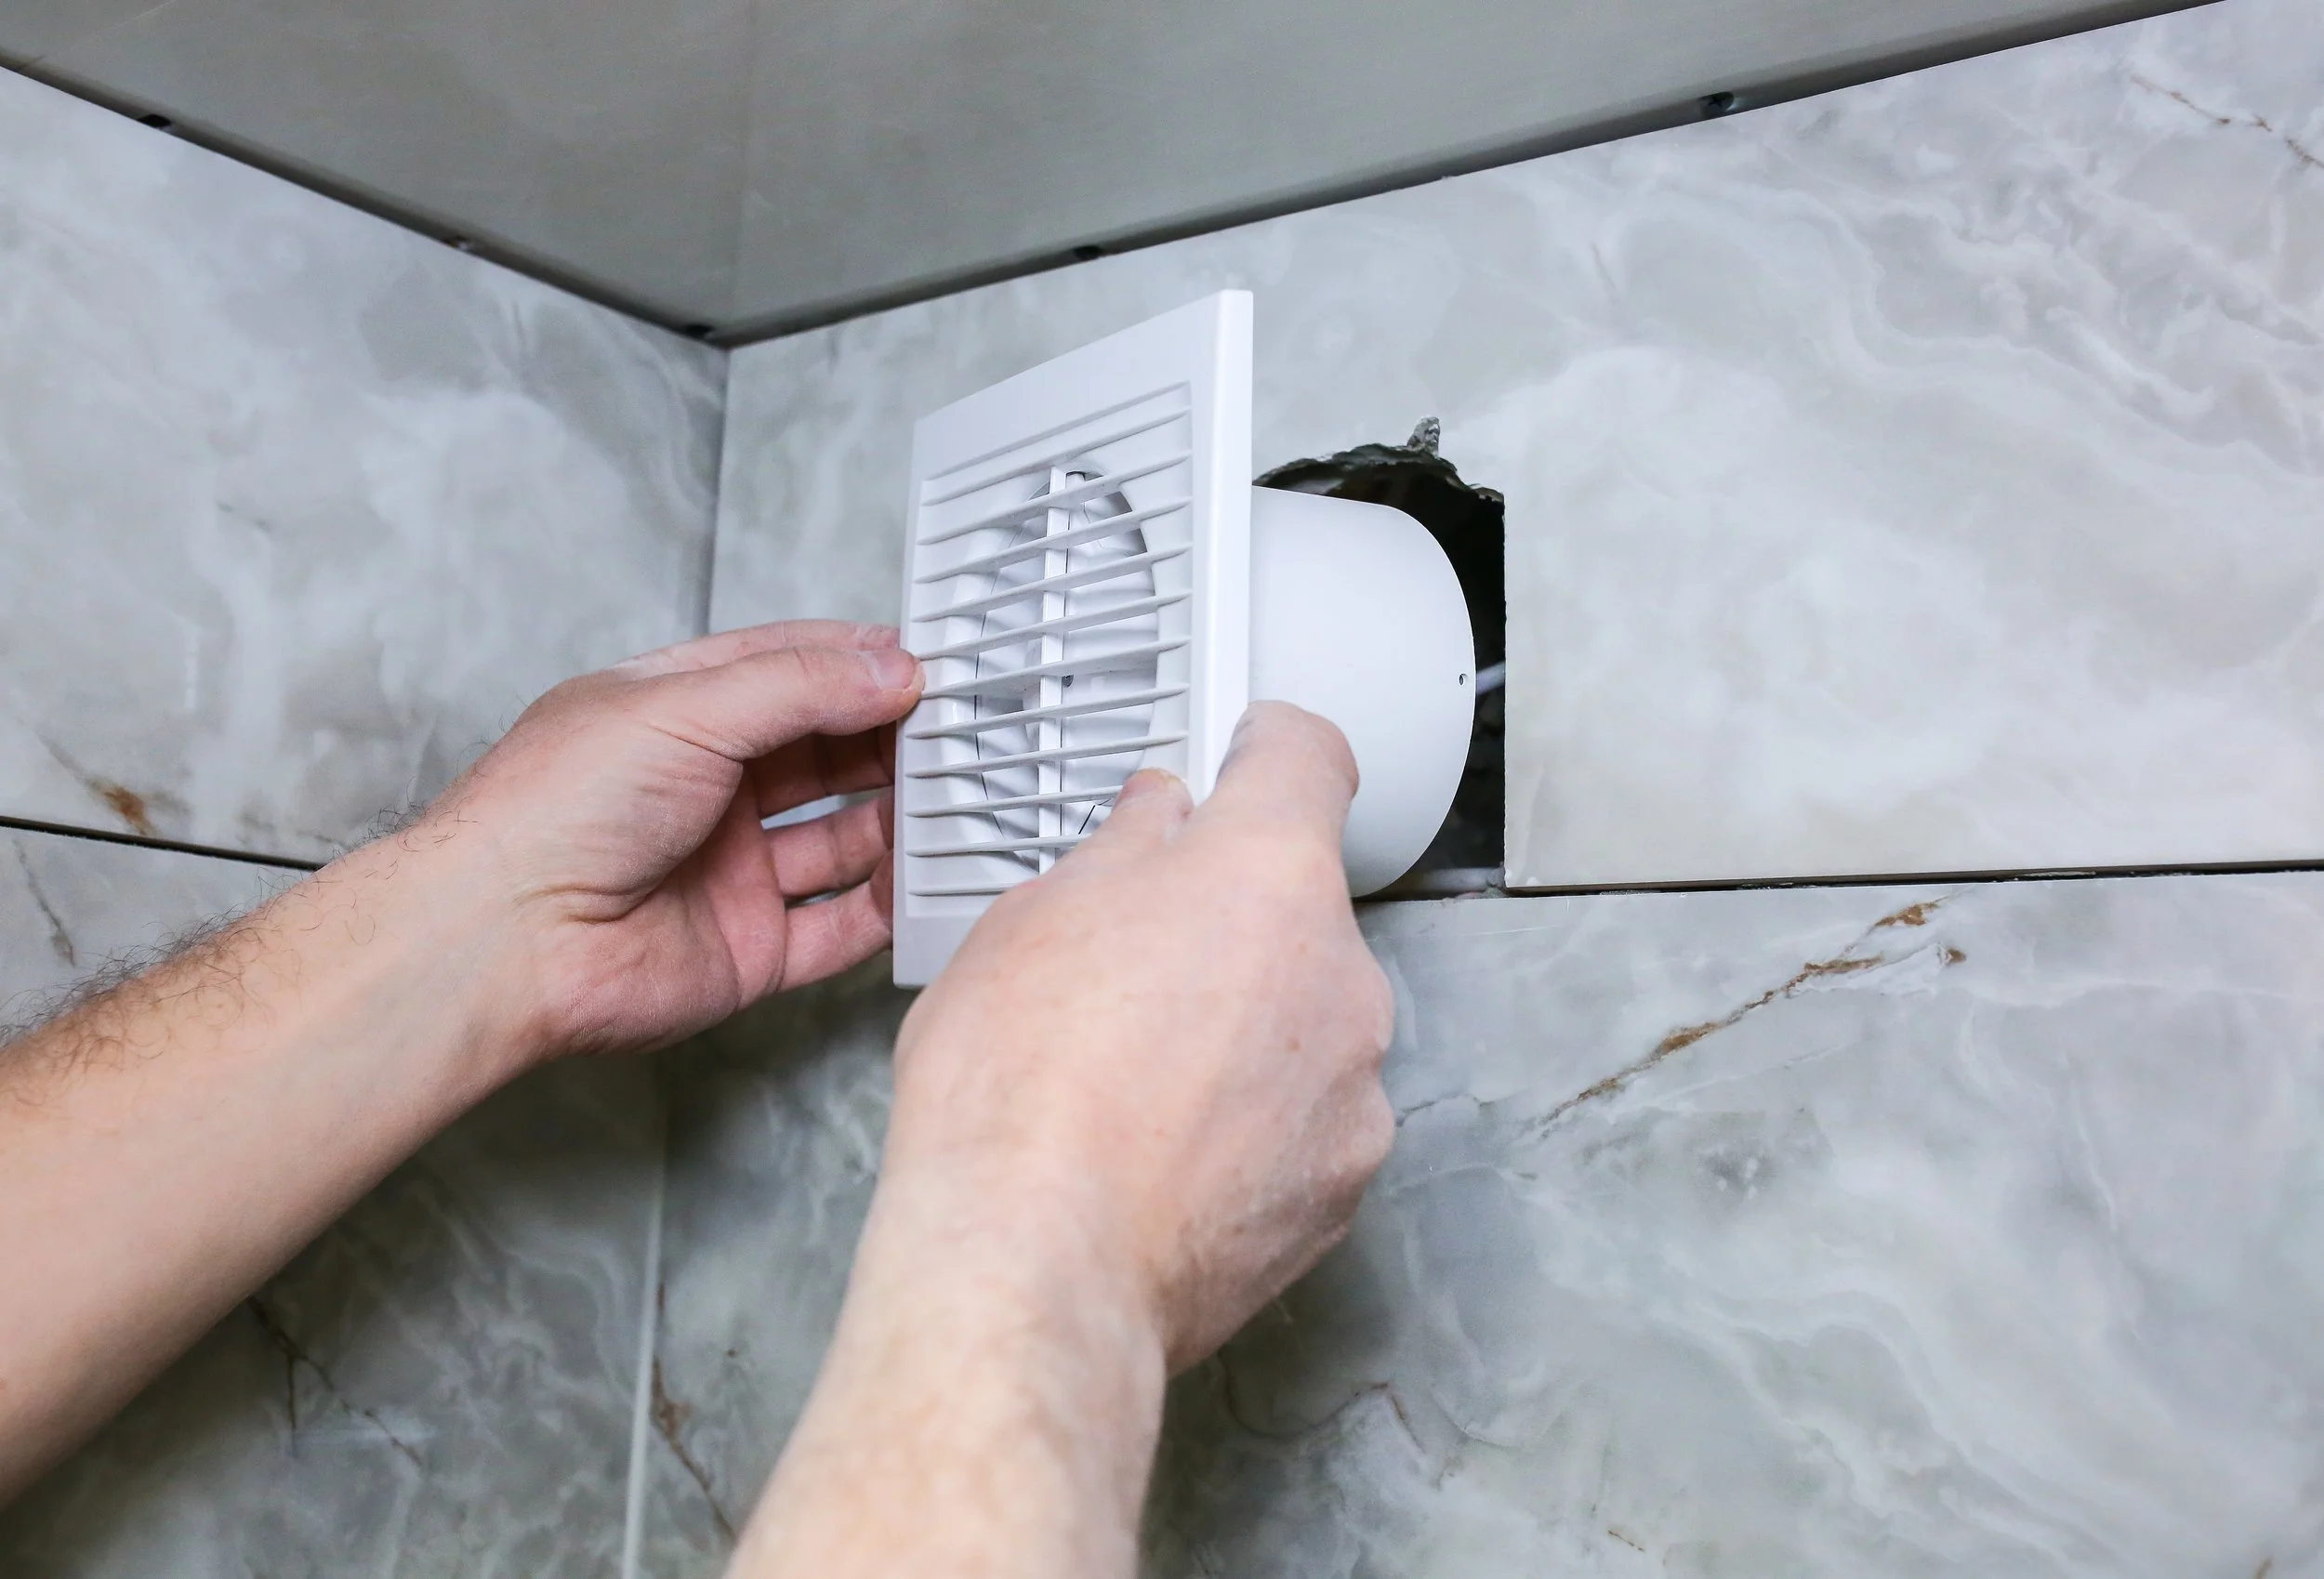
Step 6: Reassemble the Fan
The final step will be to put the fan back together. Make sure all components are completely dried out before you proceed to reassemble them.
Also Read: 10 Move-In-Cleaning Checklist
How to Clean an Exhaust Fan Without Removing (Quick Method)
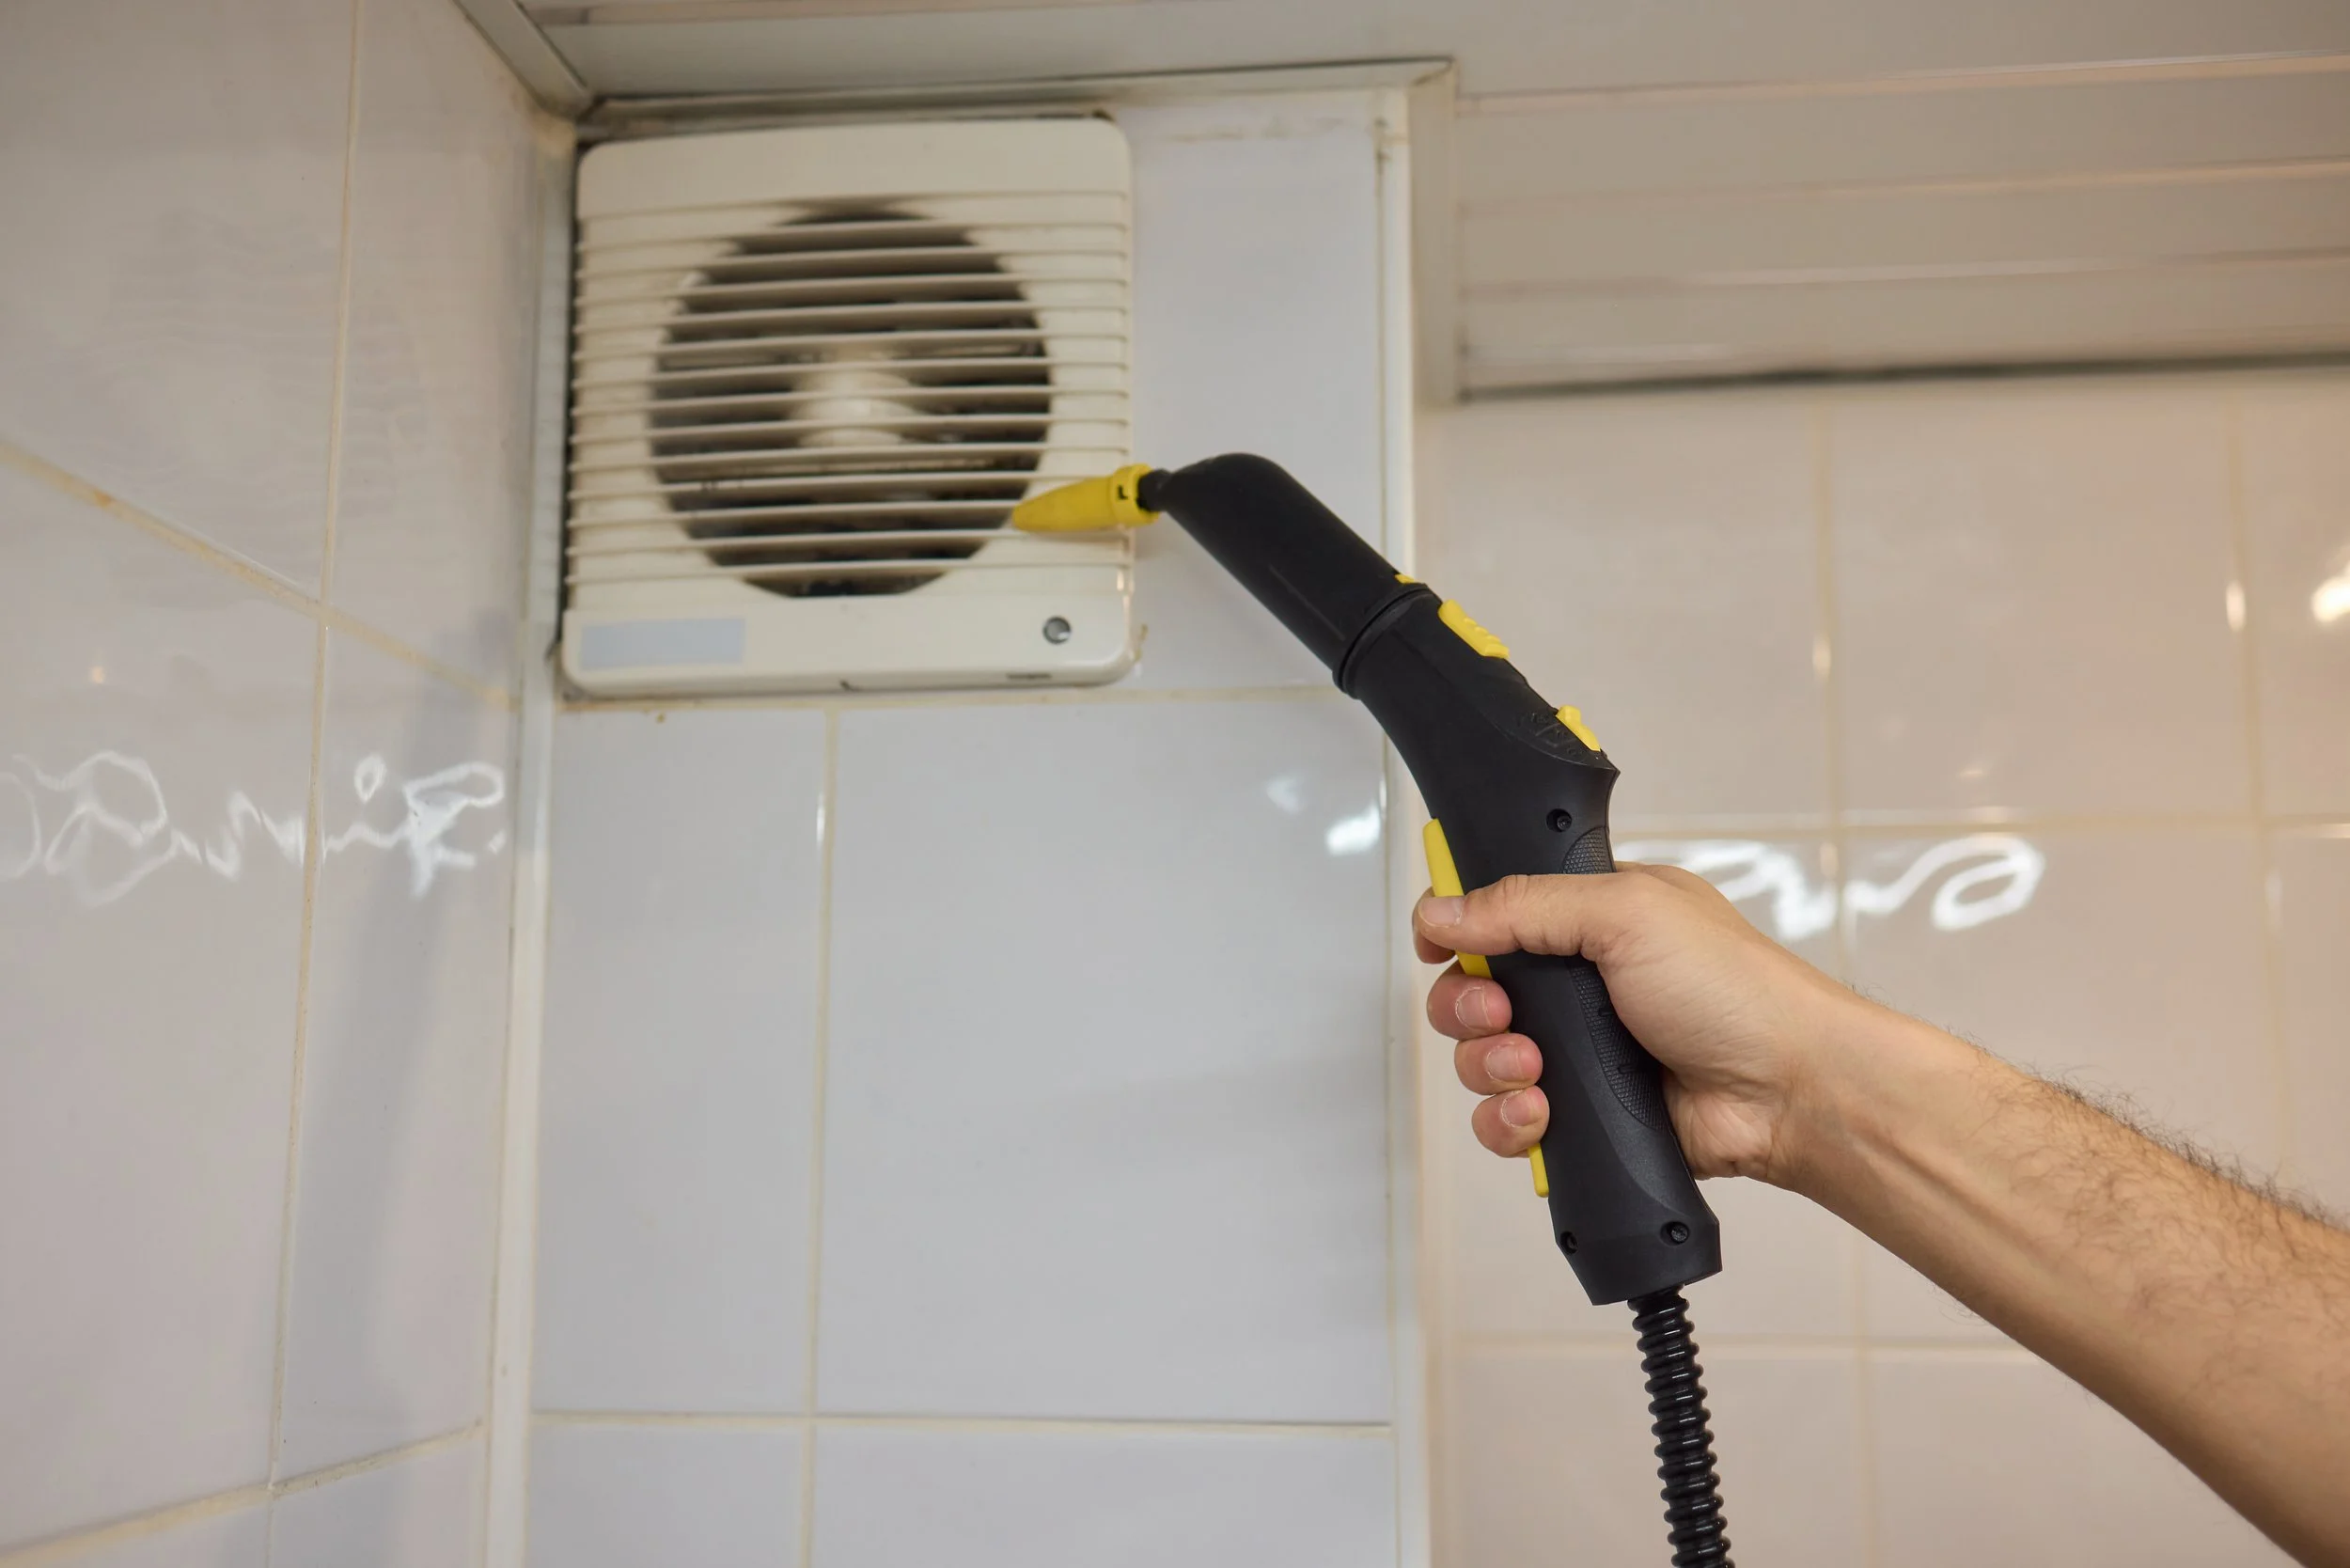
Sometimes you don’t have time for a full deep clean. This is when “how to clean exhaust fan without removing it” becomes useful. It’s a fast method recommended for maintenance between deep cleaning sessions.
Use a vacuum to remove visible dust through the vent cover
Hold the cover open slightly and brush away loose debris
Spray a microfiber cloth lightly with cleaner and wipe the outer area
Run the fan for 10–15 minutes afterwards to dry any moisture
Popular Quick-Cleaning Methods People Search For

These are the most searched shortcuts homeowners look up online. They help maintain airflow between full cleaning sessions.
“Paper Test” Method
Hold a small piece of toilet paper near the fan.
If it sticks, airflow is strong.
If it falls, cleaning is needed.
Compressed Air Spray Method
Spray short bursts of compressed air toward the vent.
This loosens dust stuck inside the housing.
Dry Brushing Method
Use a soft, dry brush to gently scrub dust off the cover and outer vents.
Best Bathroom Exhaust Fan Cleaning Practices

The combination of these techniques is what creates the Best bathroom exhaust fan cleaning approach for regular home care. These small habits help keep fans efficient and safe.
Always disconnect power before full cleaning
Use only mild cleaners
Avoid spraying liquid directly into the fan motor
Clean during the day to see dust more clearly
Prioritize ventilation during cleaning
Why Bathroom Exhaust Fan Cleaning Matters
Moisture is the biggest troublemaker in any bathroom. Without proper ventilation, steam settles on ceilings, walls, cabinets, and tiles. Over time, this leads to mold, mildew, peeling paint, damp smells, and even poor indoor air quality. A clean exhaust fan prevents these issues by pulling out humid air efficiently.
Dust buildup can make the fan noisy, slow, and weak. When your fan is clogged, it has to work harder, which shortens its lifespan. Regular bathroom fan cleaning helps keep it running smoothly, quietly, and safely.
How Often Should You Clean Your Bathroom Exhaust Fan?
Most homeowners don’t clean their fans often enough. Experts recommend cleaning every 4–6 months. If your bathroom produces heavy steam, like after daily hot showers, then cleaning every three months is ideal.
A quick way to know if cleaning is due:
You see dust on the vent cover
The fan sounds louder than usual
The bathroom stays humid for too long
Signs You Need More Than Cleaning
Even with regular bathroom exhaust fan cleaning, some fans eventually need replacement. Watch for these signs:
Persistent humidity despite cleaning
Grinding or rattling sounds
The fan doesn’t turn on consistently
Yellowing or damaged cover
Visible mold spreading around the housing
Routine Maintenance Tips to Keep Your Fan Clean Longer
A little upkeep goes a long way. Here’s how to extend your fan’s performance:
Run the fan for 10–15 minutes after showering
Dust the vent cover weekly
Do a quick vacuum touch-up monthly
Keep bathroom doors slightly open for better airflow
When to Repair vs Replace
Sometimes, repair is enough. Sometimes replacement is smarter.
Repair If:
The fan is dusty
Blades are slightly loose
The cover is dirty
Noise increases after months of use
Replace If:
The fan is 8–10 years old
Motor struggles even after cleaning
Mold has entered the housing
The fan doesn’t pull air at all
Conclusion
A clean exhaust fan keeps your bathroom dry, odor-free, and healthy. Regular bathroom exhaust fan cleaning helps you prevent moisture problems before they start. If you ever need professional help, Amenify can make routine home care easier and stress-free.
FAQs
-
Usually 15–20 minutes, depending on dust buildup.
-
Yes, and this blog covers how to clean exhaust fan without removing it, which is helpful for quick maintenance.
-
Poor ventilation combined with dirt and/or dust on the fan can trap moisture and odors
-
Run the “paper test.” If the tissue sticks, airflow is good.
-
Yes. Moisture and dust together can promote mold growth.
-
Amenify provides many in-home services. Sign up to get $50 off on your first home service or product