Easy Shower Grout Sealing: Waterproof Your Bath
Have you ever wondered why your shower starts looking worn out even when you clean it often, almost like trying to keep a white shirt spotless during a rainy outdoor walk? No matter how careful you are, dirt eventually seeps in. That’s exactly what happens with unsealed grout in your bathroom. Because grout is naturally porous, water slips into it every time you shower. Shower grout sealing is simply the process of applying a protective barrier that stops moisture, dirt, and soap residue from sinking in. When the grout is sealed correctly, your shower stays cleaner, dries faster, and holds up much longer.
And if you're tired of constant cleaning or dealing with recurring mold, this blog will walk you through everything you need to know. In the next few minutes, you’ll learn why shower grout sealing matters, how to do it properly, what tools you need, and the smartest way to keep your tiles protected year-round.
Key Takeaways
Sealing grout prevents water, dirt, and soap from sinking into porous grout lines.
You only need a grout sealer, a small applicator, and a few basic tools.
Shower grout sealing helps stop mold and discoloration before it starts.
A second coat always gives longer-lasting results.
Most showers need resealing once a year.
Amenify cleaning experts recommend regular maintenance to prevent long-term damage.
Also Read: How Much Does Shower Valve Replacement Cost?
What Is Shower Grout Sealing?
Shower grout sealing is a simple process that protects the grout lines between your tiles from absorbing moisture. Think of it like waterproofing fabric—once you add the protective layer, spills can’t soak in. Grout sealer works the same way by blocking water from entering the tiny pores in grout. This is essential in showers, where moisture is constant.
Unsealed grout absorbs:
Water
Soap scum
Dirt
Body oils
Hard water minerals
Over time, all of these turn into mold, stains, and crumbling grout lines. That’s why Amenify cleaning experts recommend sealing tiles and grout in any shower or high-moisture bathroom.
How to Seal Shower Grout (Step-by-Step Guide)
Below is the simplest way to handle tile grout sealing at home.
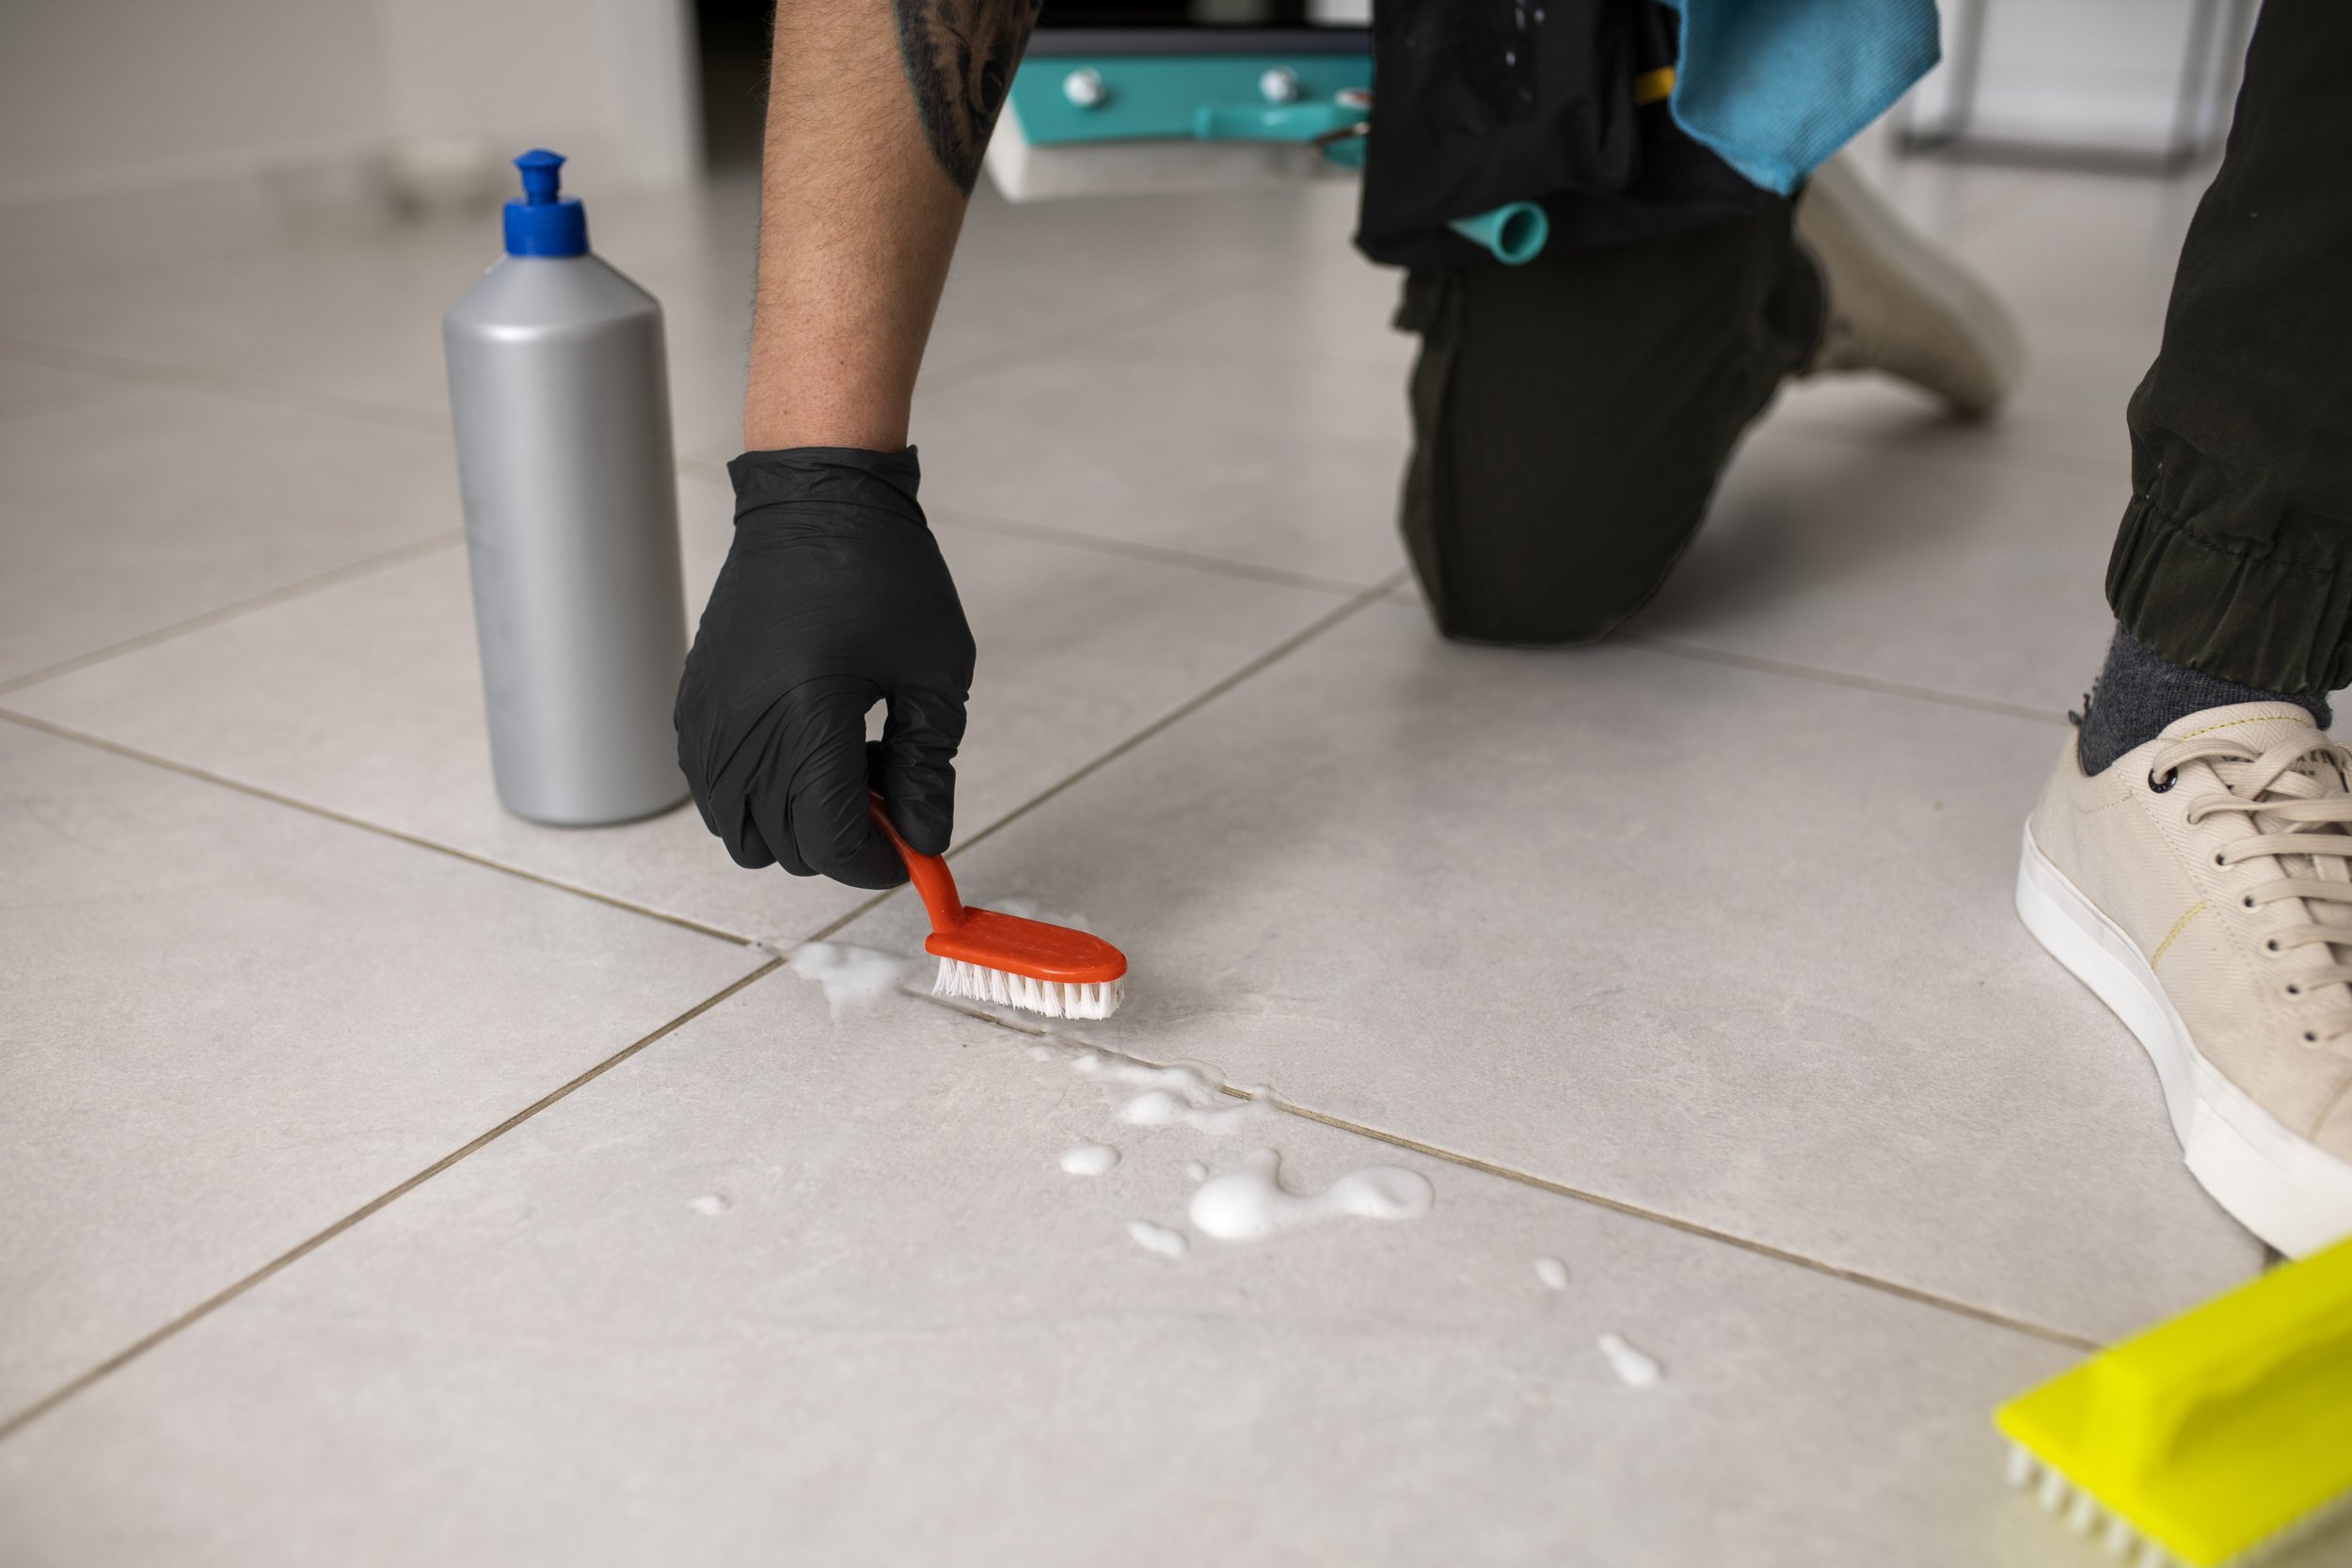
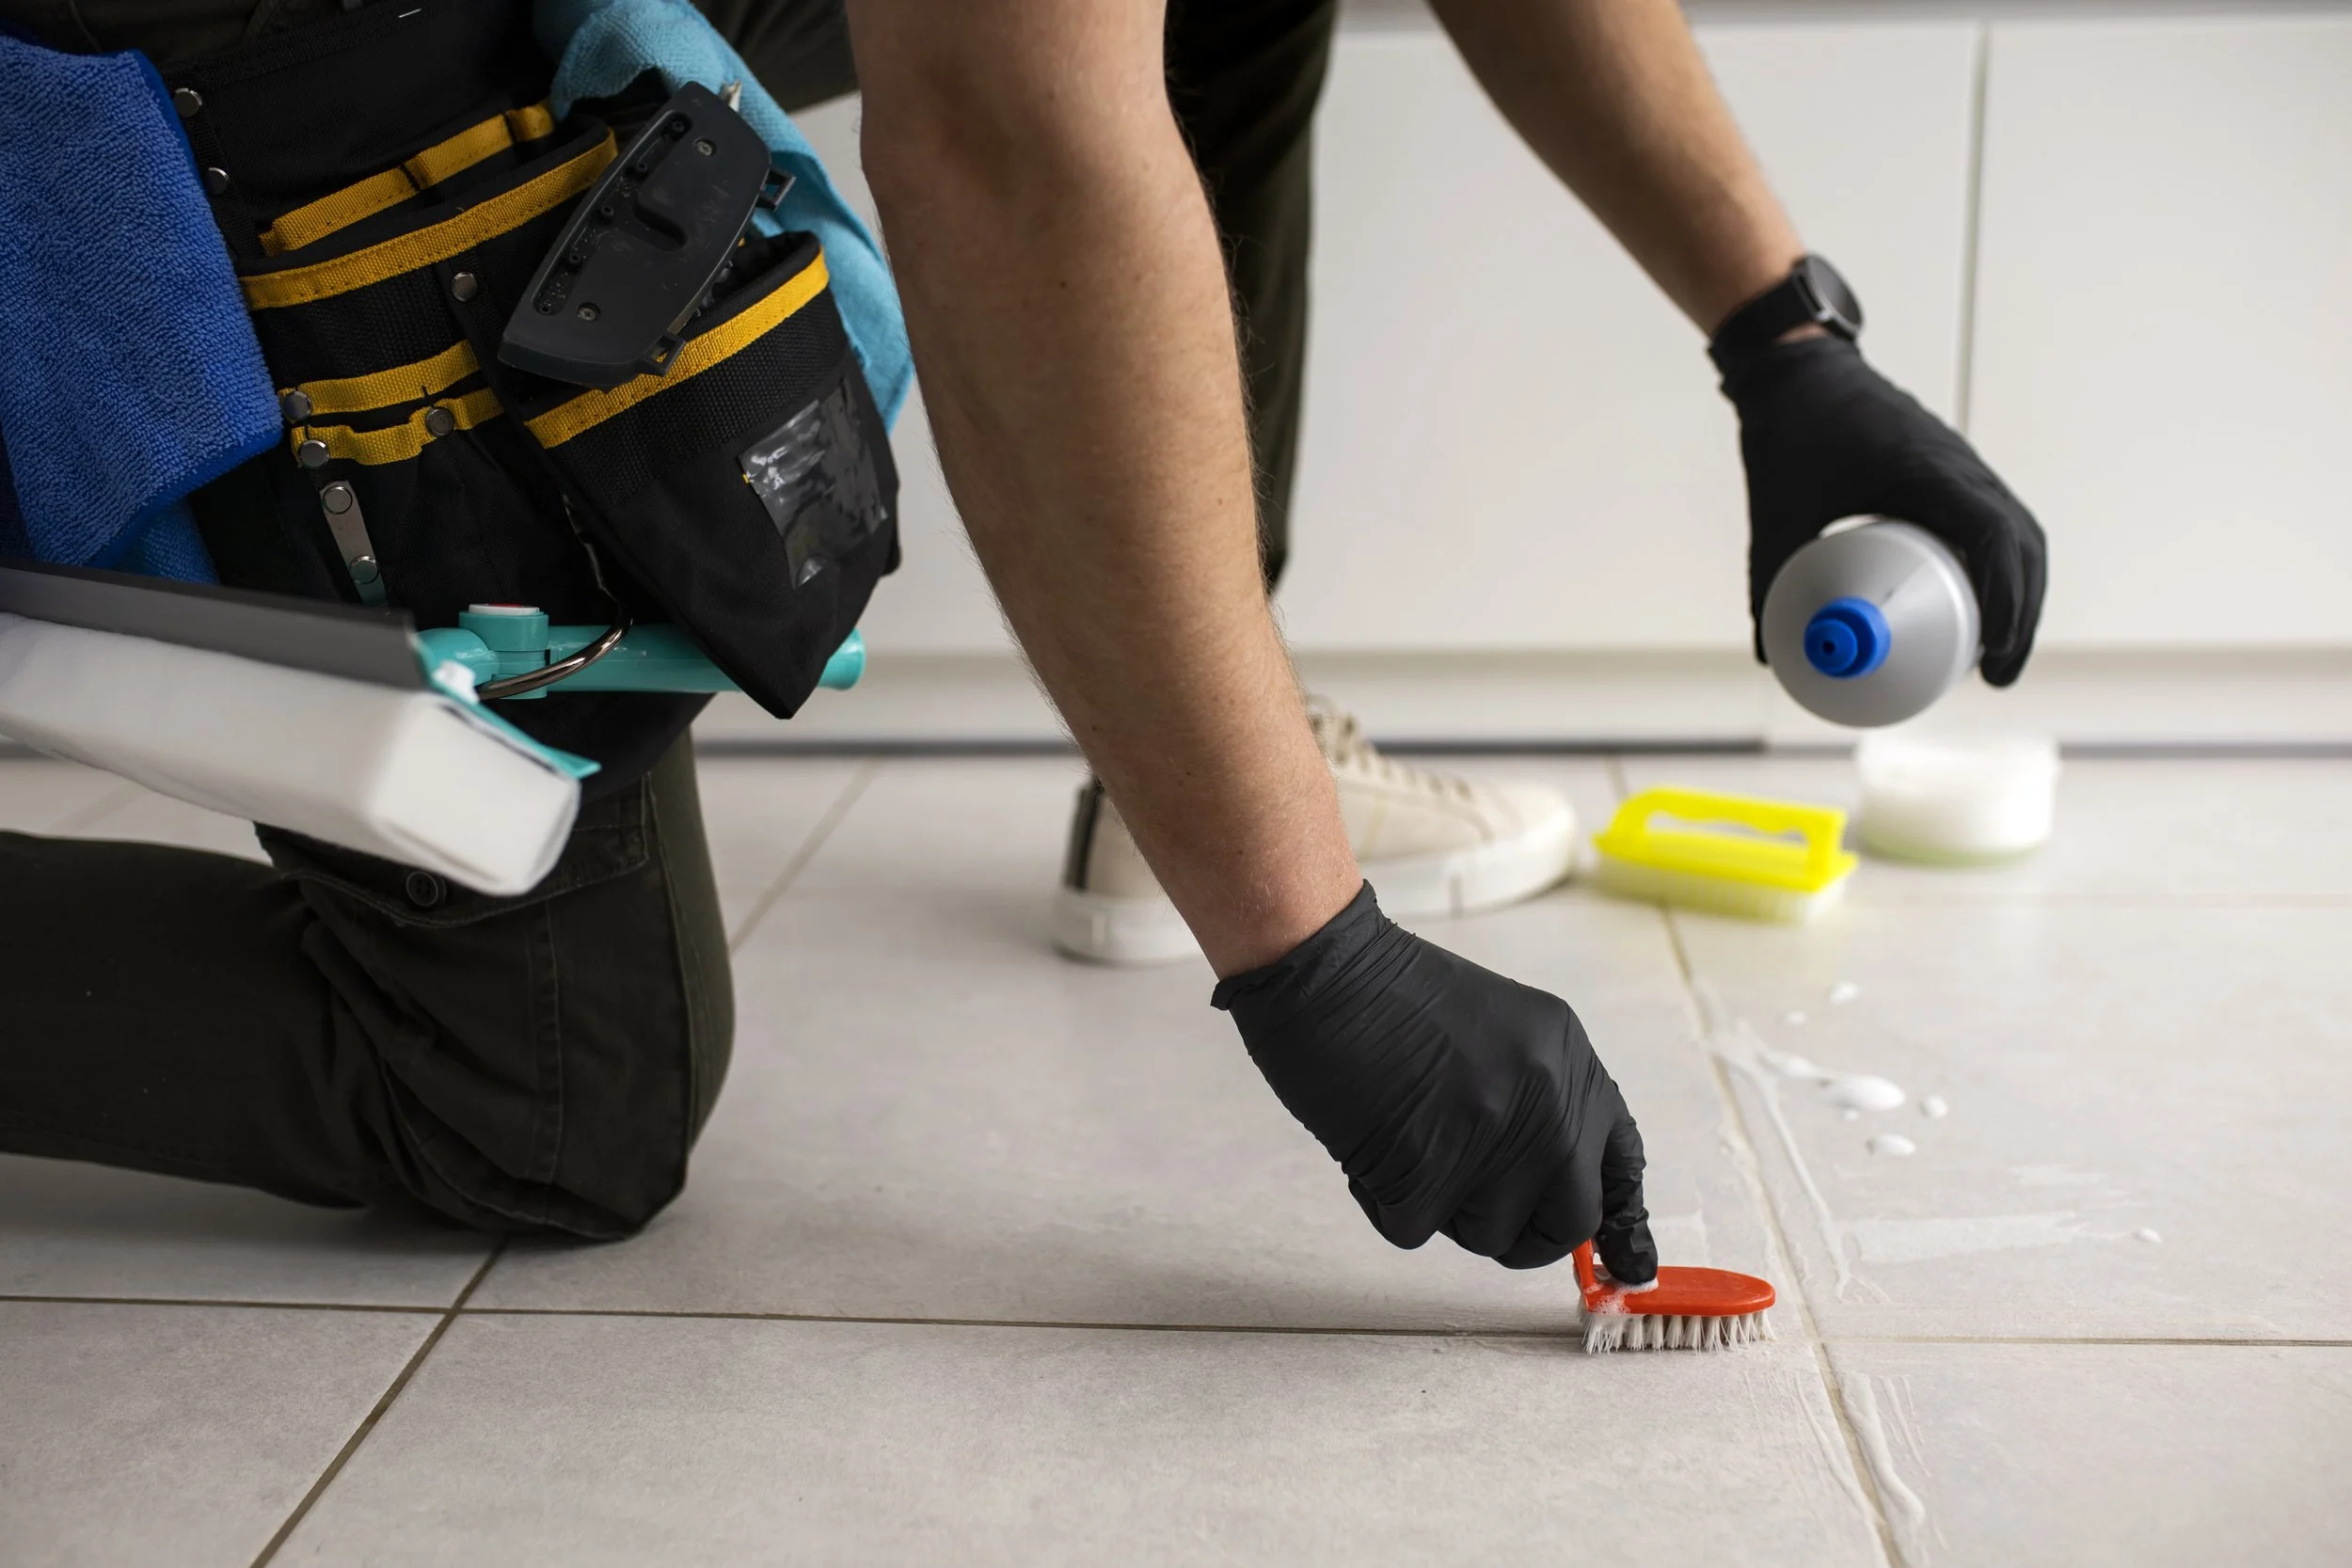
Step 1: Clean and Dry the Grout
Clean the grout thoroughly using a grout-safe cleaning product. Scrub gently with a brush to remove dirt, soap residue, and any light stains. Rinse and let the grout dry completely, preferably for several hours or overnight. Sealer won’t stick well to damp grout.
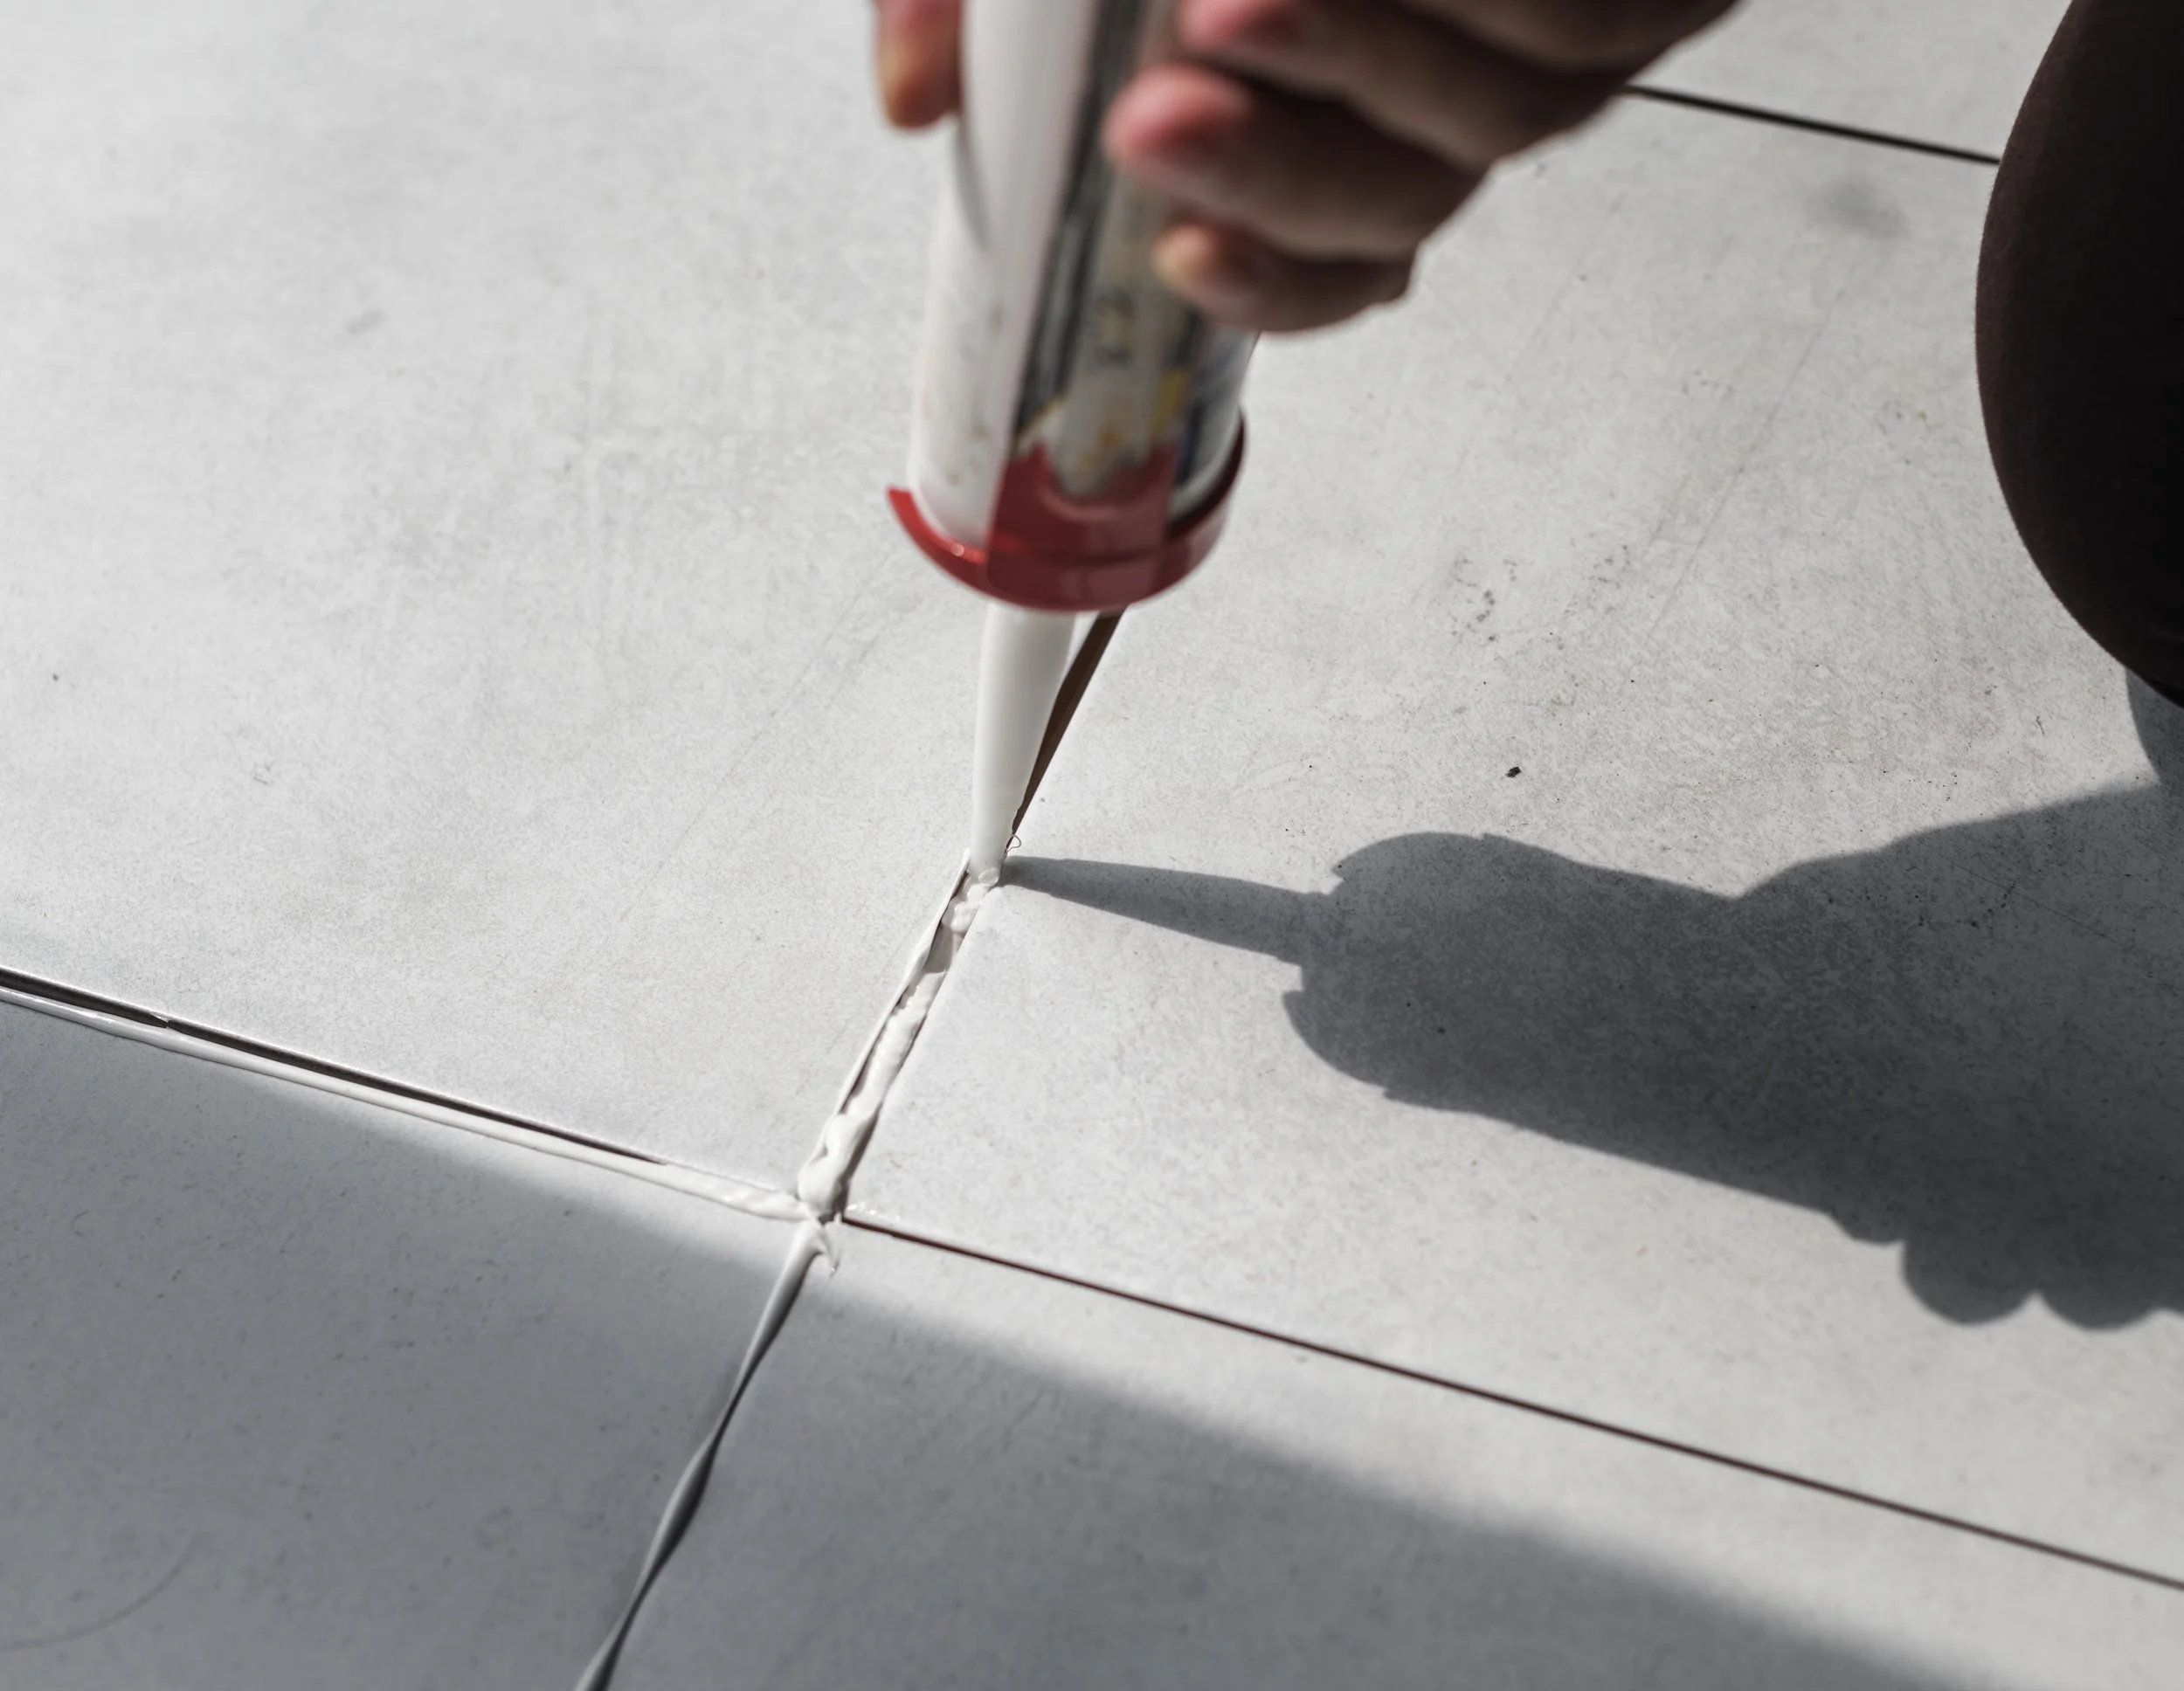
Step 2: Apply the Sealer
Use an applicator bottle, small brush, roller, or sponge.
Apply the sealer slowly across each grout line.
Important things to remember:
- Apply evenly
- Do not be in a hurry
- Do not flood the surface of the tile
- Immediately wipe off the tiles if any sealer gets onto them; otherwise, they may have a hazy appearance.
Step 3: Wait 10 Minutes and Wipe Away Excess
After you apply the sealer for the first time, you will want to give it time to soak in for approximately 10 minutes; at this point, you will want to take a microfiber cloth and wipe up any remaining sealer still sitting on the tile surface.
Step 4: Add a Second Coat
A second coat creates a longer-lasting, more durable shield. Showers take on a lot of moisture, so this step is worth it.
Step 5: Test With Water
Once fully dry, drop a little water onto the grout.
If the water beads up, your grout is sealed.
If it soaks in, add another light coat.
When Should You Seal Shower Grout?
Most homeowners aren’t aware that grout needs maintenance. Here are the signs:
Water absorbs instead of beads
Grout lines look damp long after a shower
Stains keep returning
Mold grows quickly
It’s been over a year since the last sealer application
After the new grout cures, sealing should be one of the first steps to protect it.
What You Need for Grout Sealing
You’ll find these in most home improvement stores.
Tools
Grout sealer applicator
Brush or roller
Microfiber cloths
Materials
Penetrating grout sealer
Grout-safe cleaner
Gloves
Types of Grout Sealers
Penetrating Sealers (Best for Showers)
These soak into the grout and protect from the inside out. They are the recommended choice for any shower because they handle constant moisture.
Membrane-Forming Sealers
They sit on top of grout like a coating.
In showers, they can trap moisture underneath, so they’re less ideal.
Spray-On Sealers
Convenient and quick, but usually not as long-lasting.
They’re best for quick touch-ups.
How to Choose the Right Sealer for a Bathroom Shower

When you’re working with sealant tiles and grout, picking the right product matters. For wet spaces like showers, always choose a penetrating grout sealer. Professional Cleaning experts recommend high-quality water-resistant sealers designed for constant moisture exposure.
Consider:
Tile material
Grout type (sanded, unsanded, epoxy)
How often the shower is used
Bathroom humidity levels
Expert Tips for Keeping Grout Cleaner, Longer
Here’s what helps maintain sealing tiles and grout effectively:
Keep your shower ventilated
Use a squeegee after each shower
Avoid harsh or acidic cleaners
Reseal regularly based on usage
Deep-clean grout before sealing
Expert teams frequently find that homes with good ventilation and simple daily habits see far fewer grout issues over time.
Common Questions Homeowners Ask
How long does grout sealer last in a shower?
Typically about 12 months, though high-use showers may need it sooner.
Can I shower right after sealing grout?
No. Most sealers need up to 24 hours to cure properly.
Does sealing prevent mold completely?
It reduces mold growth significantly but does not eliminate the need for cleaning.
How do I know if my grout needs sealing again?
If water doesn't bead on the grout surface, it's time to reseal.
Is professional sealing worth it?
If your grout is stained, damaged, or heavily used, professional sealing helps extend its life.
Amenify provides expert support for homes that need deeper restoration and protection.
DIY vs Professional Shower Grout Sealing
DIY grout sealing works well when your grout is in good shape.
Professional sealing makes sense when you see:
Cracking
Deep stains
Recurring mold
Water damage
Old or crumbling grout
Professionals can repair issues, deep clean grout, and apply long-lasting sealing products safely.
Mistakes to Avoid When Sealing Shower Grout
Sealing before the grout is completely dry
Using the wrong product for your tile type
Applying too much sealer
Forgetting the second coat
Using harsh cleaners right before sealing
Most sealing failures happen because someone rushed through one of these steps.
How Often Should You Seal Shower Grout?
Most homes benefit from resealing once a year. Heavy-use bathrooms may need it every 6–8 months. If your grout never seems to stay clean, this is usually the issue.
Final Checklist for Perfect Grout Sealing
Your grout is properly sealed when:
It stays dry-looking after water exposure
Water beads up and rolls off
Tiles look clear, not hazy
You’ve applied at least two coats
It passes the water test
If all these boxes are checked, you’re good to go.
Conclusion
Sealing your shower grout doesn’t have to be complicated. With the right steps, the right product, and a little consistency, your bathroom can stay cleaner, healthier, and easier to maintain. And if you’re looking for professional help that understands exactly how to protect your grout long-term, Amenify offers expert home care services designed to keep your space fresh, safe, and durable.
FAQ’S
-
At least 24 hours, longer if your bathroom stays humid.
-
No. You must clean or regrout first, then seal.
-
Yes. Sealing makes cleaning easier, but doesn’t replace it.
-
Only if it's still in good condition. If it’s peeling, remove it first.
-
Cracking usually happens due to tile movement, not moisture.
-
Amenify provides many in-home services. Sign up to get $50 off on your first home service or product